But you'll notice that by default Revit will wrap your layers to the centerline of the wall. I just discovered that you can adust where the wall wraps to. First thing you have to do is open the door (or other) family and add a reference plane (as shown below). Now select that reference plane and make sure that under its properties you change the Wall Closure parameter to TRUE. Lastly, add a dimension (like say 2 inches) and lock the dimension so that your reference plane is always 2 inches from your face of wall.

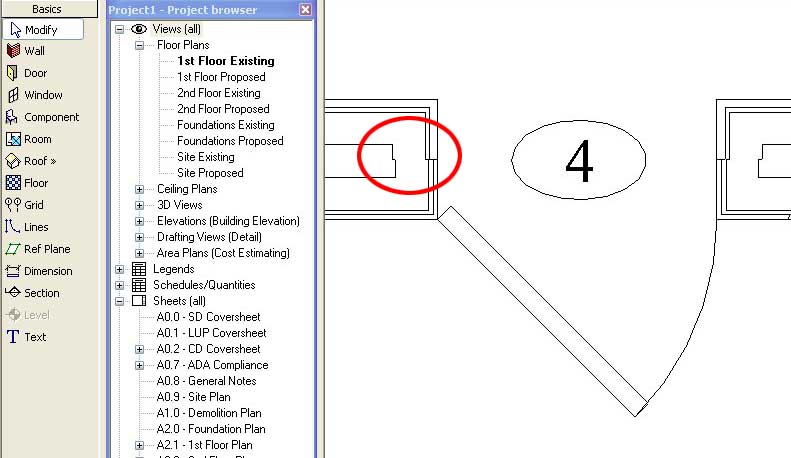
Now load your door family into a project and place it in a wall. Make sure the wall's Wrapping at Inserts parameter is set to Both. You'll notice that you can now control the location of wall layer wrapping.
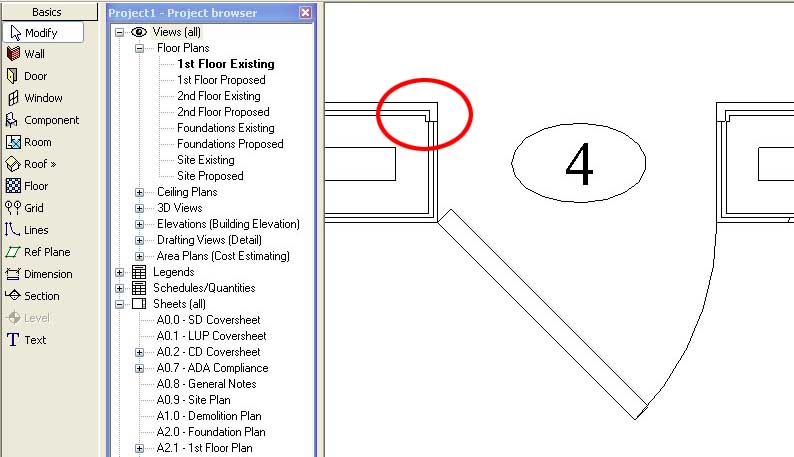
You can also add a second reference plane to control exterior and interior wall layer wrapping separately.
2 comments:
very nice tip :)
Fixed the problem
Thanks your info. Good Luck
Post a Comment